Photography Tips for Capturing Iconic Landmarks
Shoot timeless landmark photos with smart planning, creative composition, crowd-proof tactics, and simple gear tips—from golden-hour light to long exposures.
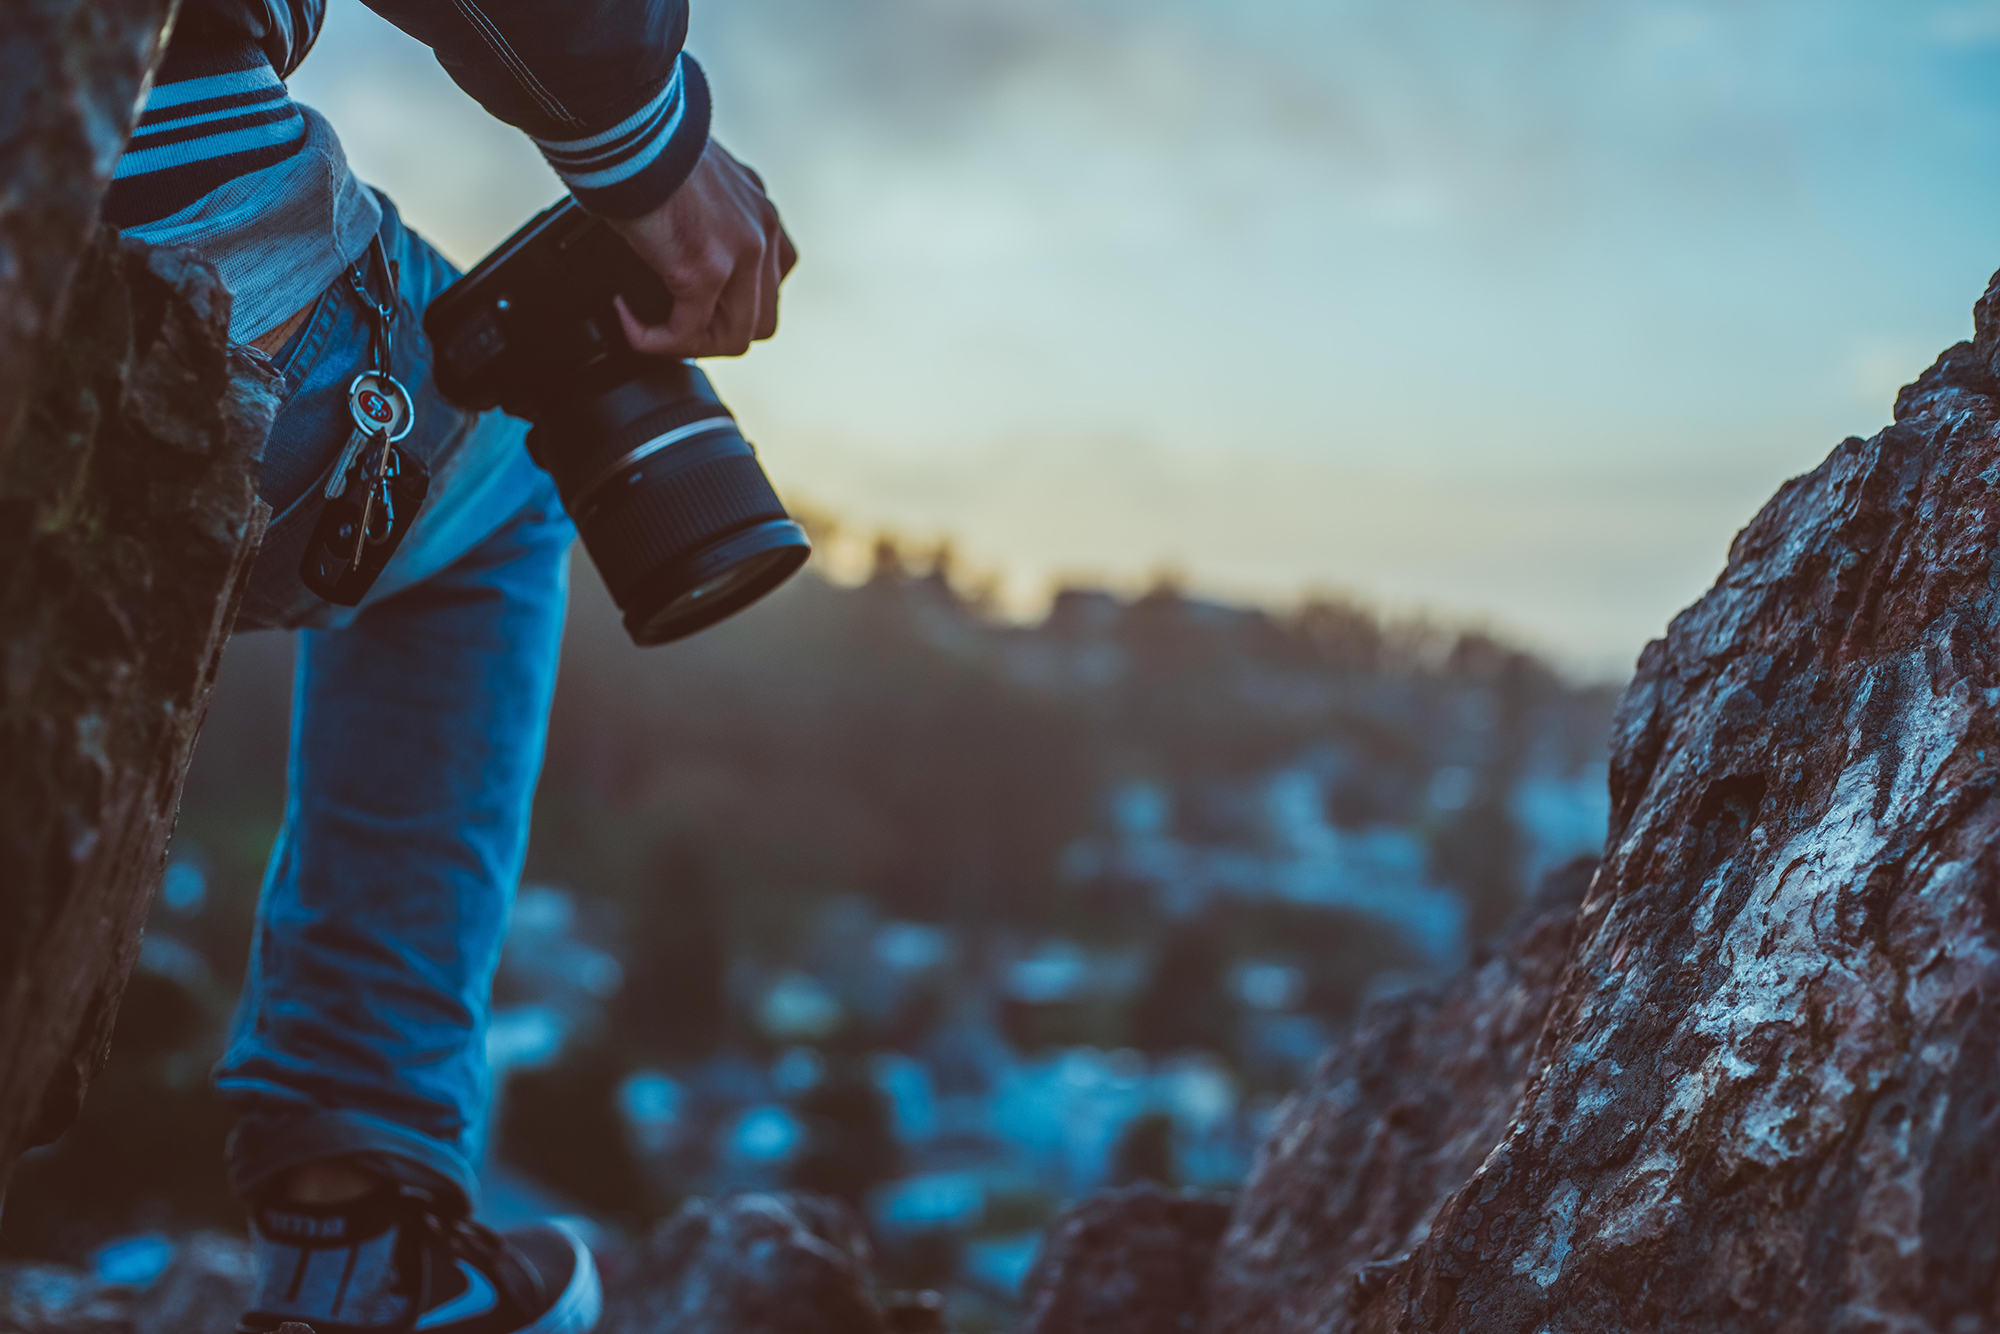
Framing With Purpose
Iconic landmarks are instantly recognizable, yet your photograph can make them feel freshly discovered by choosing a deliberate composition. Begin by walking the scene to understand its form, story, and surroundings. Seek a vantage point that layers a thoughtful foreground with the main subject to create depth and scale. Place the landmark using the rule of thirds for balance or embrace central symmetry to emphasize grandeur. Use leading lines from railings, streets, or paths to guide the eye, and leverage negative space to isolate a silhouette against sky or water. Explore low angles for a dramatic presence or higher viewpoints to reveal context. Eliminate distractions by shifting your position rather than relying on heavy edits. Consider framing through arches, branches, or windows to craft frames within frames. Pre-visualize the image orientation, whether portrait for height or landscape for breadth. Constraints such as fences or crowds can spark creativity; shoot through patterns or reflective surfaces to transform limitations into signature style.
Mastering Natural Light
Light sculpts every landmark differently. The warm, directional glow of golden hour adds depth and texture, while blue hour offers calm hues and balanced contrast ideal for cityscapes and reflections. Use backlighting to create silhouettes or a delicate rim light around architectural edges. On overcast days, even illumination enhances fine details and reduces harsh shadows; on sunny afternoons, seek shade, use a lens hood, and protect highlights by slightly underexposing. A polarizer can deepen skies and manage glare, especially around water or glass. For high-contrast scenes, consider exposure bracketing to preserve detail across shadows and highlights. At night, mixed lighting can cast various color temperatures; adjust white balance to keep tones intentional, not accidental. A small aperture can produce starbursts from point light sources, adding sparkle without clutter. Check the histogram rather than relying on the rear screen, and let weather be your collaborator—mist, rain, or clouds can transform the familiar into something cinematic.
Settings, Gear, and Stability
Technical control ensures your creative choices translate to the final image. A sturdy tripod enables long exposures and precise framing; use a remote release or a short timer to avoid vibrations. Manage the exposure triangle with purpose: start with low ISO for clean files, select aperture to control depth, and set shutter speed to freeze or blur motion. For sweeping scenes, f/8 to f/11 often balances sharpness and diffraction, while a wider aperture isolates ornate details. Use an ND filter to stretch shutter speeds for silky water or to blur crowds, and a graduated ND to balance bright skies. Focus with intent: set hyperfocal distance for expansive vistas, or use manual focus with magnification for night scenes. Shoot RAW to maximize latitude for tonal and color refinements. Smartphone shooters can enable the grid for alignment, lock focus and exposure, and adjust exposure compensation for tricky lighting. Keep lenses clean, stabilize your stance, and review edges for intrusions before committing to the frame.
Working With Crowds and Motion
Popular landmarks attract people, which can either enrich or overwhelm your composition. Use timing to your advantage by arriving early, staying late, or waiting patiently between tour groups. Elevate your viewpoint to clear horizon lines, or go low and let the foreground dominate. A telephoto lens can compress space and remove distractions, while a wider lens captures energy and context. Embrace motion creatively: a slow shutter speed turns bustling visitors into a soft blur that suggests movement without stealing focus, or capture crisp silhouettes for scale and human interest. Be thoughtful with ethics and local guidelines, especially regarding tripods, restricted zones, and personal space. Consider reflections, shadow play, or partial details when crowds are dense. Weather can thin foot traffic and add atmosphere, giving you cleaner frames. Most of all, protect your gear, stay aware of surroundings, and keep both safety and respect at the forefront of your process.
Tell a Cohesive Story
A single hero shot is memorable, but a thoughtful storytelling approach elevates your travel album. Start with an establishing wide scene, then layer medium frames that show craftsmanship, and finish with intimate details like textures, patterns, and materials. Use frames within frames to connect the landmark with its neighborhood, or contrast old stone with modern glass to highlight time and change. Play with symmetry, then break it slightly for tension. Guide the viewer with leading lines from roads, steps, or rivers, and balance busy scenes with minimalism when a clean background serves the subject best. Change your vantage often: a low angle for power, a high overlook for context, and side angles for depth. Consider a deliberate color palette or switch to black and white when form and light dominate. Sequence your images to flow like a journey—arrival, discovery, nuance—so your audience experiences the landmark as you did.
Post-Processing With Intent
Thoughtful editing refines your vision without overshadowing authenticity. Begin with a decisive cull, then apply lens corrections and fix perspective to tame keystoning. Set white balance to anchor mood, and adjust contrast, clarity, and dehaze with restraint. Use local adjustments—radial or linear gradients and subtle dodging and burning—to guide attention and sculpt light where it matters most. Repair small distractions with careful healing, but avoid altering defining features of the landmark. Balance sharpening with noise reduction to maintain texture while preserving a natural look, especially in night or long-exposure frames. Crop for stronger geometry, watch the edges, and keep colors believable rather than oversaturated. Export in appropriate color space for web sharing, and create optimized versions for prints. Maintain a non-destructive workflow with versions or snapshots so you can revisit choices later. Consistency in processing ties your series together, turning individual frames into a polished, cohesive travel narrative.